Wednesday, 3 October 2012


Abstract Photography


''Abstract photography is a process of using colours and patterns combined to create an image, with no true meaning or no clear subject involved. Abstract photography is not necessarily going to mean the same thing to everyone. Abstract photography leaves more to the imagination and helps us concentrate on texture and colour rather than the whole subject.'' taken from http://wiki.answers.com

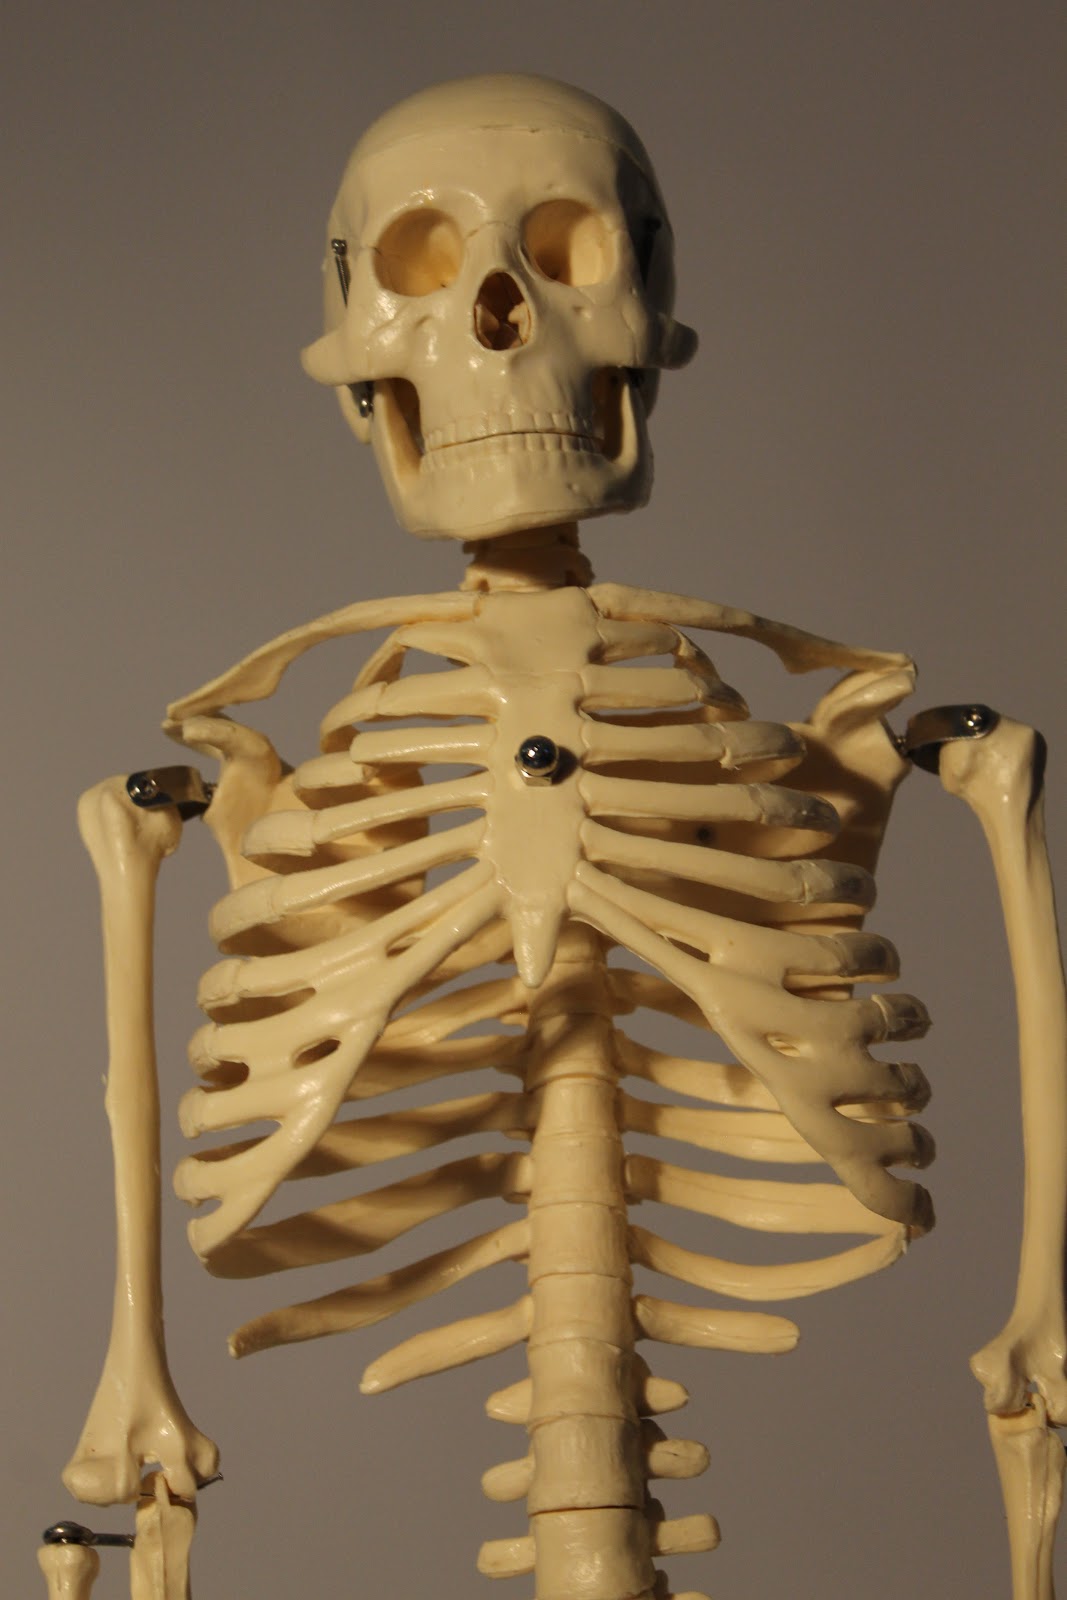
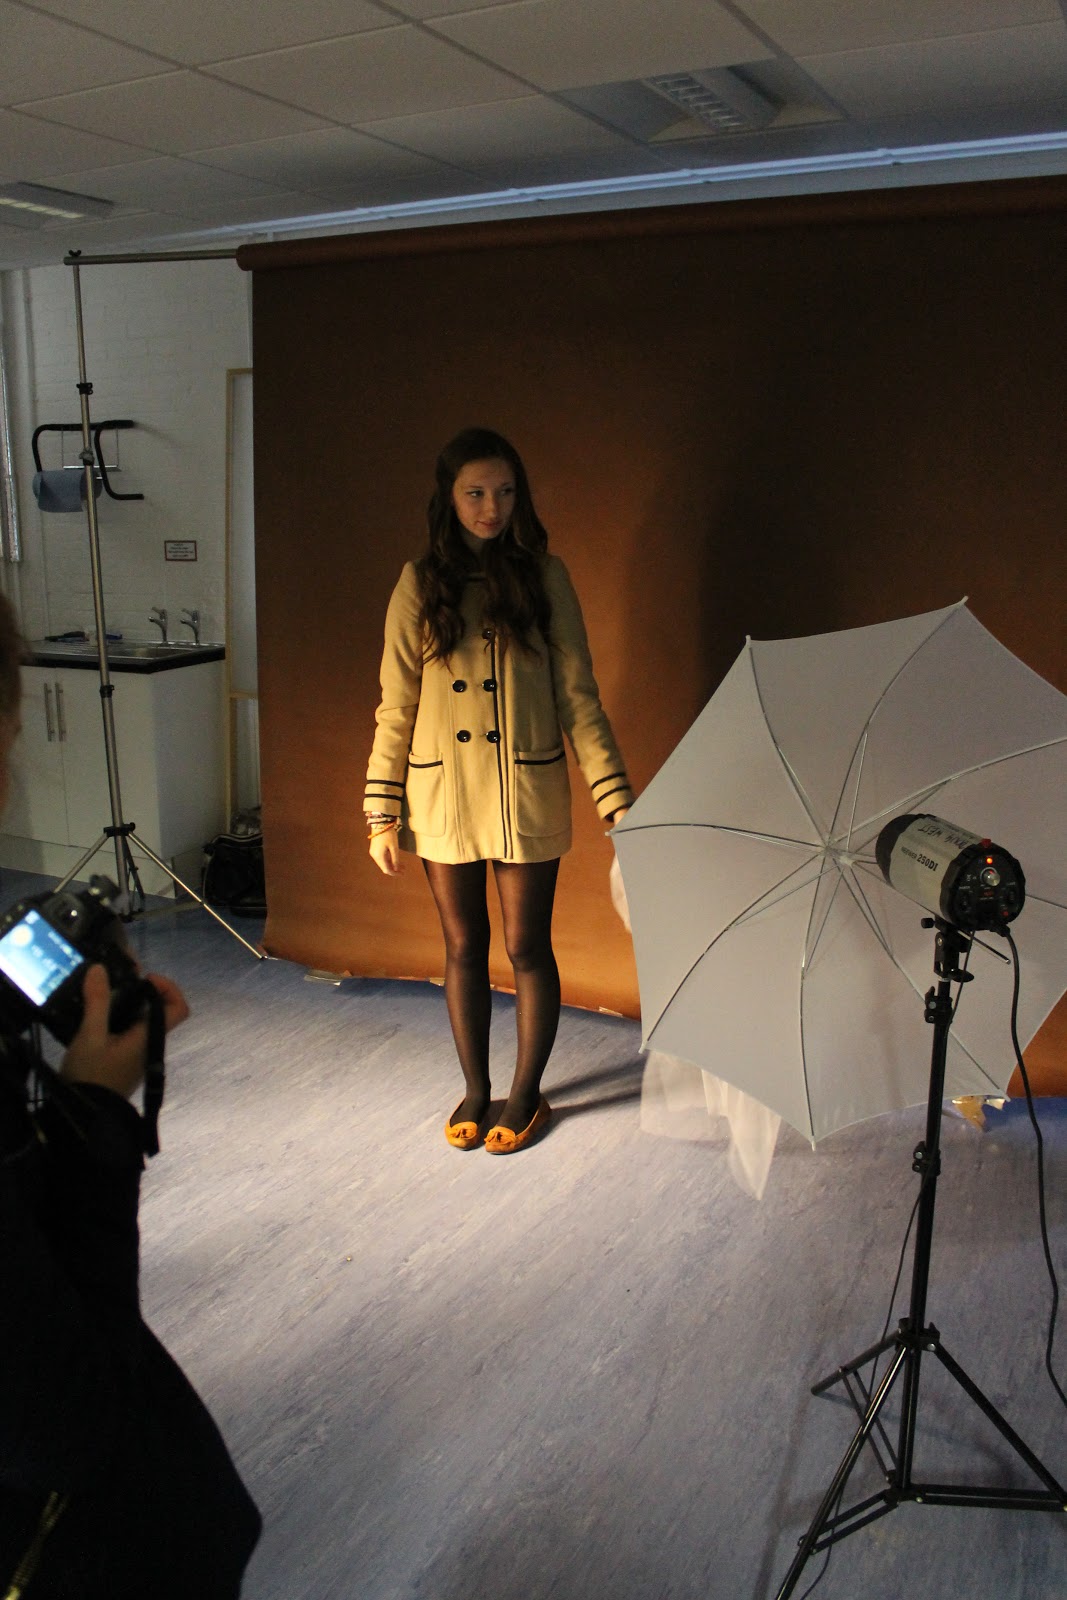
This was one of our first lessons. We had been put into groups, and afterwards send outdoors, to make our own abstract photography. The images could be later on used in our book cover projects, as patterns. Since my group has lost the photos, I had to take some new ones, that you can see below.

Even though the objects are small, thanks to the high resolution, they apear enormous on the screen. Now when I look back on the photos, I still find details I haven't seen before.


Tuesday, 2 October 2012


Beautifully Unhinged


The lesson was divided into 4 parts, and every group was assigned to spend 15 or more minutes  for each task. Everything we did in class that day had a purpose to be later on used in our book covers.


The first assignment was to take photos of a skeleton. We had been adviced to play with the shadows and filters, to create a more mortuary character of the photos. The second project took place outdoors. We were supposed to take various photos of trees, that reminded us of one of the main topics of the book. The third task was another photoshoot of some glass elements combinated with lights from different positions. And the last one was a photoshoot with a living object. We had used a shutter and different light strenghts for this one.


There are a few new things that I have learned during that lesson. First, we  made a great use of the colour filters available at the studio (although none of these fitted on my camera). Then I have learned about adjusting the lights in the room. It was also the first time I have been talking to a model, during a photo shoot to achive different expressions and postures.


The darker side of Beautifully Unhinged... 

This lesson was very memorable. For our inspiration we have watched the famous curtain scene from Hitchcocks 1960 "Psycho" movie. Back then, many filmakers could create a very terrifying scene by using only lights and shadows. Nowadays many of these effects are replaced with special effects and cheap tricks, that are too fake to be scary.


During the lesson we could make a good use of some of the provided tools for us. Studio lightning with flash units, were one of the main tools. But this time, I have been also introduced to colour gel filters and a plastic screen.

We asked the model to stand in front of a reflector or plastic screen. Behind the model we set a backlight, which we then covered with one of the colouristic gel filters. Depending on how far the model stood, we could make the shadow apear more or less darker. In some cases we covered the model with a transparent material. See the final outcome of the project below:


Beautifully Unhinged Project - Experimental


This lesson was all about creating experimental photos. We were trying to achive different effects by manipulating with the camera during the capture process.

Here are some of the effects we were able to create:

Panning – its a technique that allows us to catch the a clear picture of a subject, while moving.

Zooming While Shooting- rotate your camera and take a shot mid whirl.

Long Exposure Photography – With a long-duration shutter speed we capture the image of an object. While doing this, we move some lights around the object.

Ghost effect- Ghostly images are created with the use of a slow shutter speed.

Freezing motion picture- A very fast shutter speed is needed (1/250).

Double exposure- the act of exposing the same film, frame, plate, etc., twice.


Beautifully Unhinged & Portraits


''Portraits are works of art that record the likenesses of humans or animals that are alive or have been alive.''

During the lesson, we have been talking about the beginnings and the evolution of portraits. We looked at some of the most famous portraits, made by: Edvard Munch's ''The Scream''1893, Vincent Van Gogh's self portrait 1885 or Pablo Piccaso's portraits made in the unique cubist style.

We also had a closer look at some of the abstract expressionist portraits:
- Willem de Koonig ''Woman'' 1944
- Francis Bacon, "Head VI" 1949
- Jenny Saville ''Plan'' 1993

After the research, we've been making portraits in the studio with the help of lights and shadows. Our main task was to show the character of the person in the photo.